


Leather Weaving: Guide to Creating Leather Weaves with 3,4,6, and 8 Strands
Introduction
Welcome to the HWL Blog! Today, we’re diving into the art of leather weaving—a timeless technique that adds texture and elegance to your jewellery and accessories. Whether you’re looking to create a stunning bracelet, a unique keychain, or a stylish bag, leather weaving is a versatile skill that can elevate your designs. In this tutorial, I’ll guide you through the process of making 3, 4,6, and 8 strand bracelets or necklaces.
Leather Weave 3 Strands
Materials needed:
- 3 leather strips (each about 24-30 Cm long for bracelet, and 50-60 Cm for necklace)
- Leather cord thickness: 2-3mm works well
- Clasp or closure findings
- Leather glue or strong adhesive
- Scissors
- Tape or clip to secure while working


The 3-Strand Weaving Process:
- Hold the left Strand in your left hand, the right Strand in your right hand, and let the middle Strand hang free.
- Bring the left strand over and across the middle strand. The left strand now becomes the new middle strand.
- Cross the right strand over and across what is now the middle strand. The right strand becomes the new middle.
- Continue alternating, always crossing the outer strands over the middle strand. Right over middle, then left over middle.
Finishing
- Leave 2-3 inches un-braided at each end for attaching clasps
- Secure braid ends with glue or tight wrapping
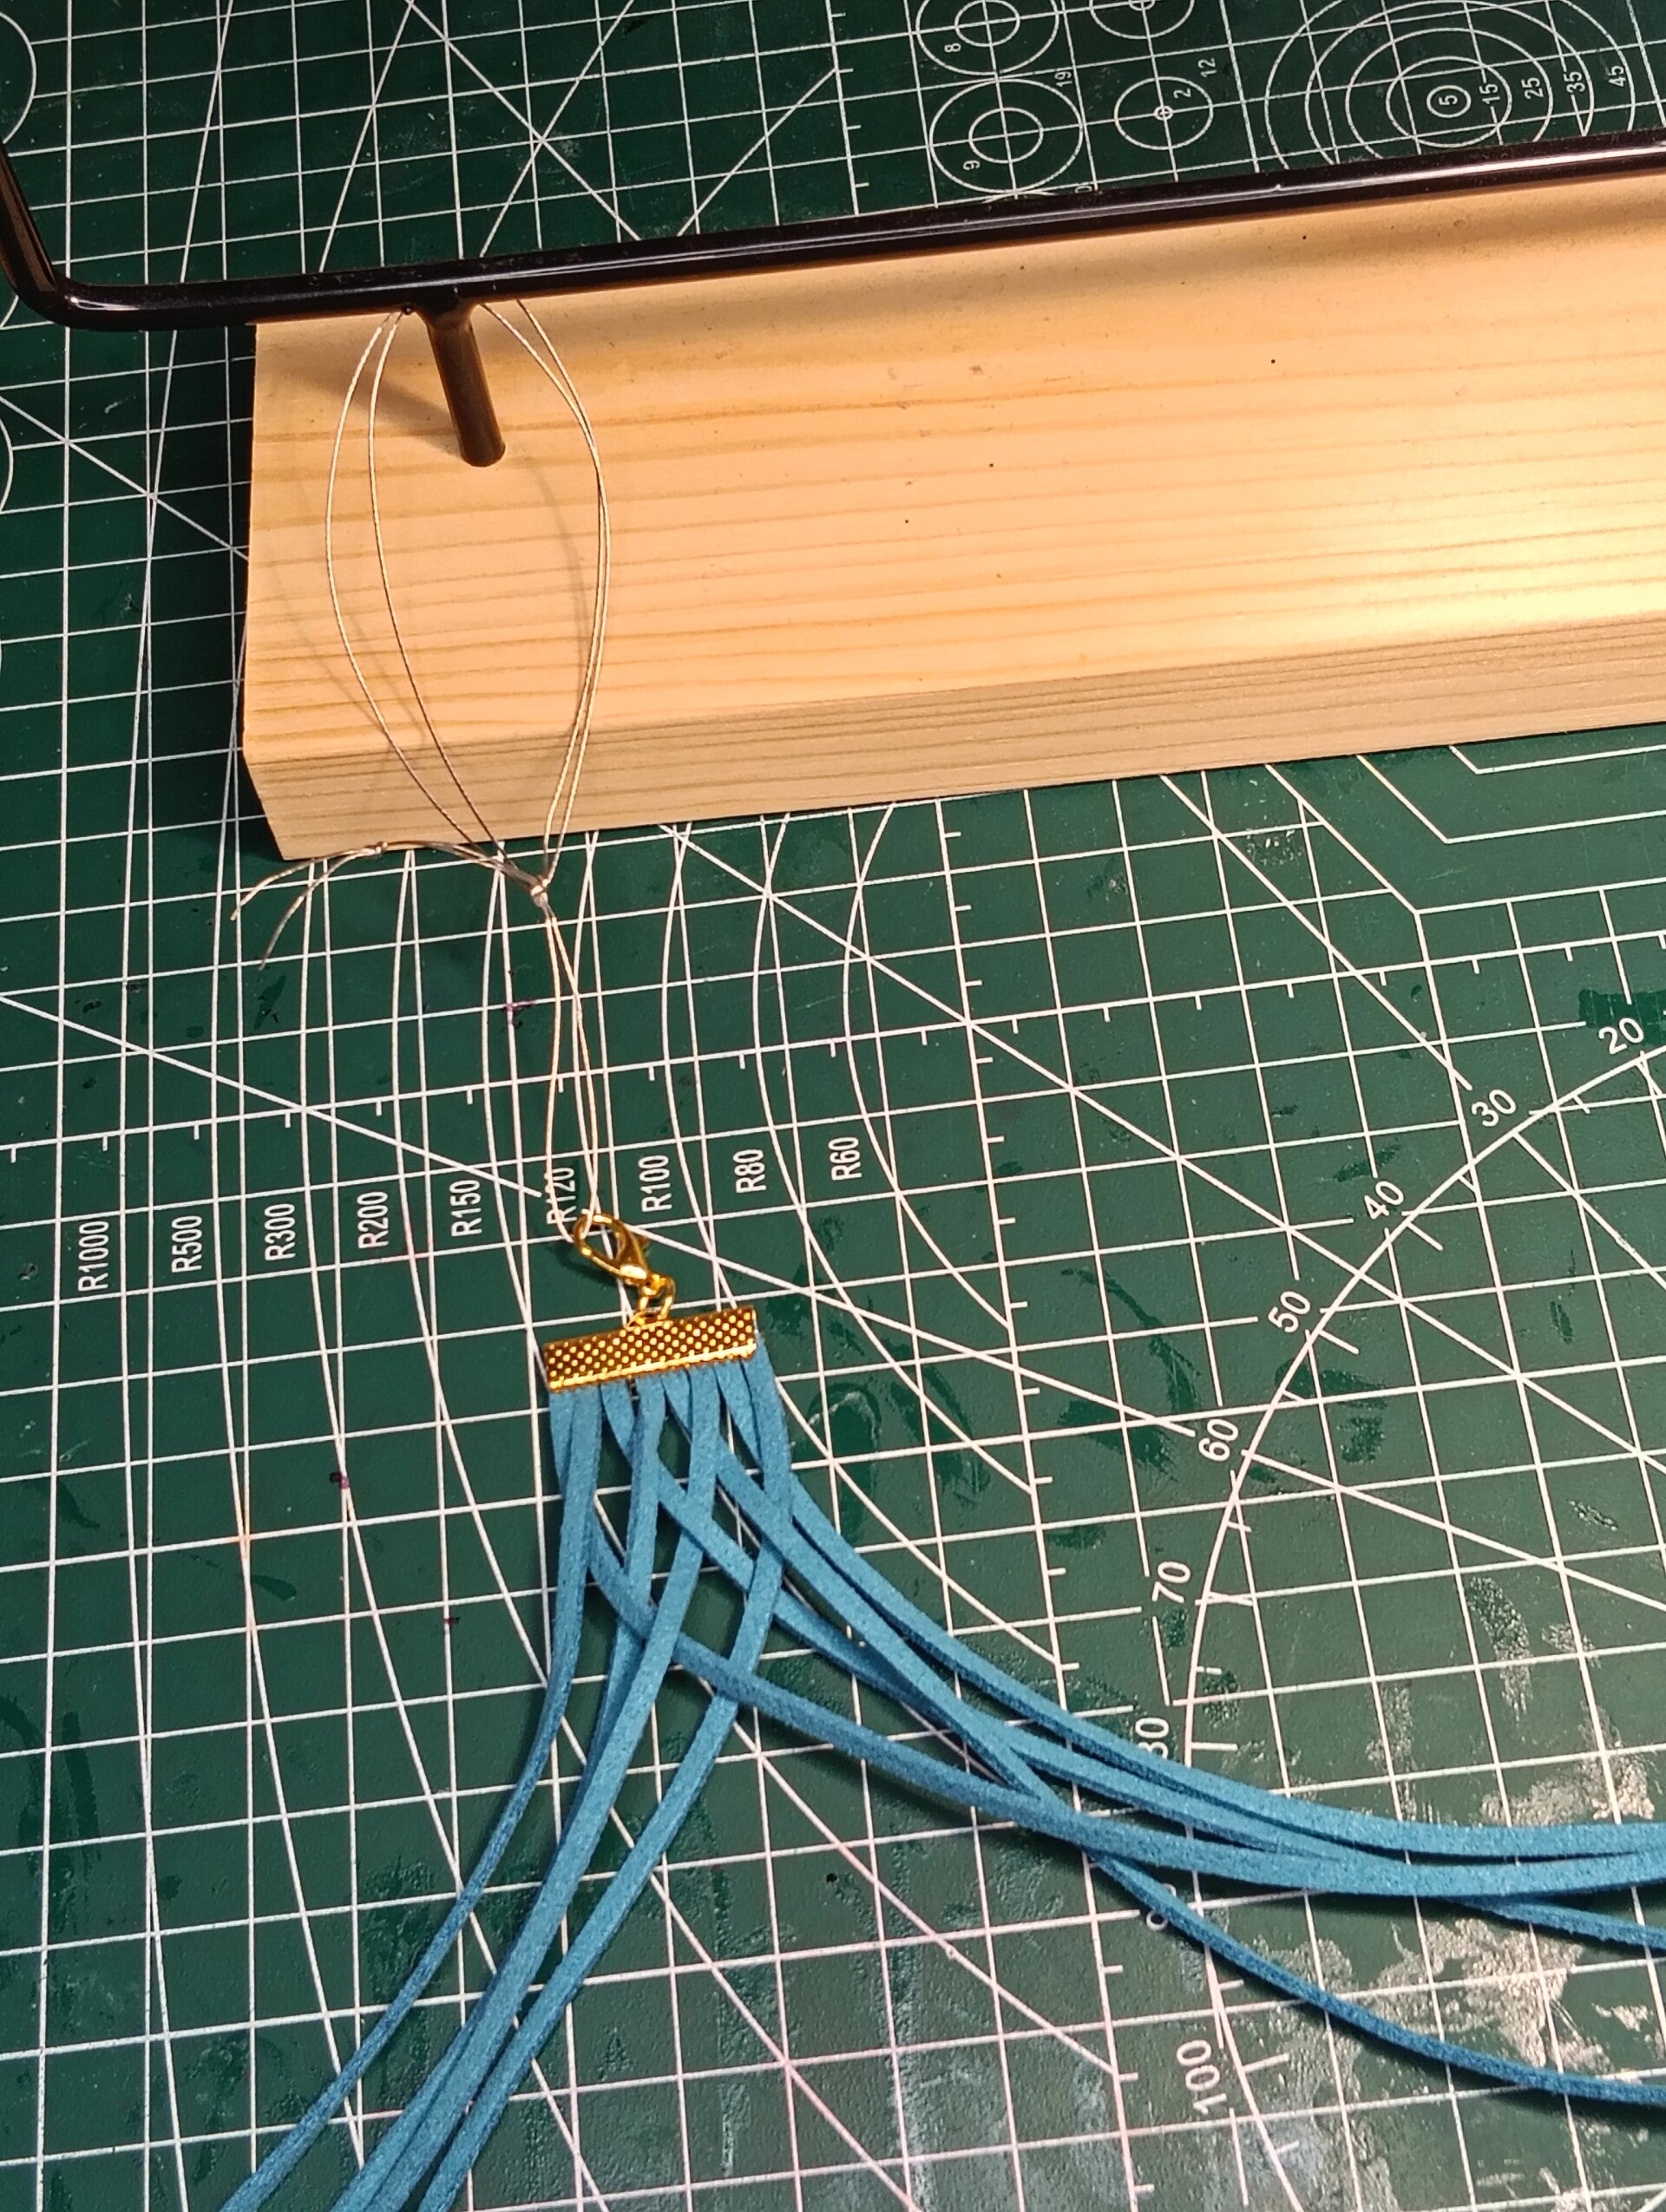
- Attach jump rings and a clasp, or create a loop-and-toggle closure
Leather Weave 4 Strands
Materials needed:
- 4 leather strips (each about 24-30 Cm long for bracelet, and 50-60 Cm for necklace)
- Leather cord thickness: 2-3mm works well
- Clasp or closure findings
- Leather glue or strong adhesive
- Scissors
- Tape or clip to secure while working

The 4-Strand Weaving Process:


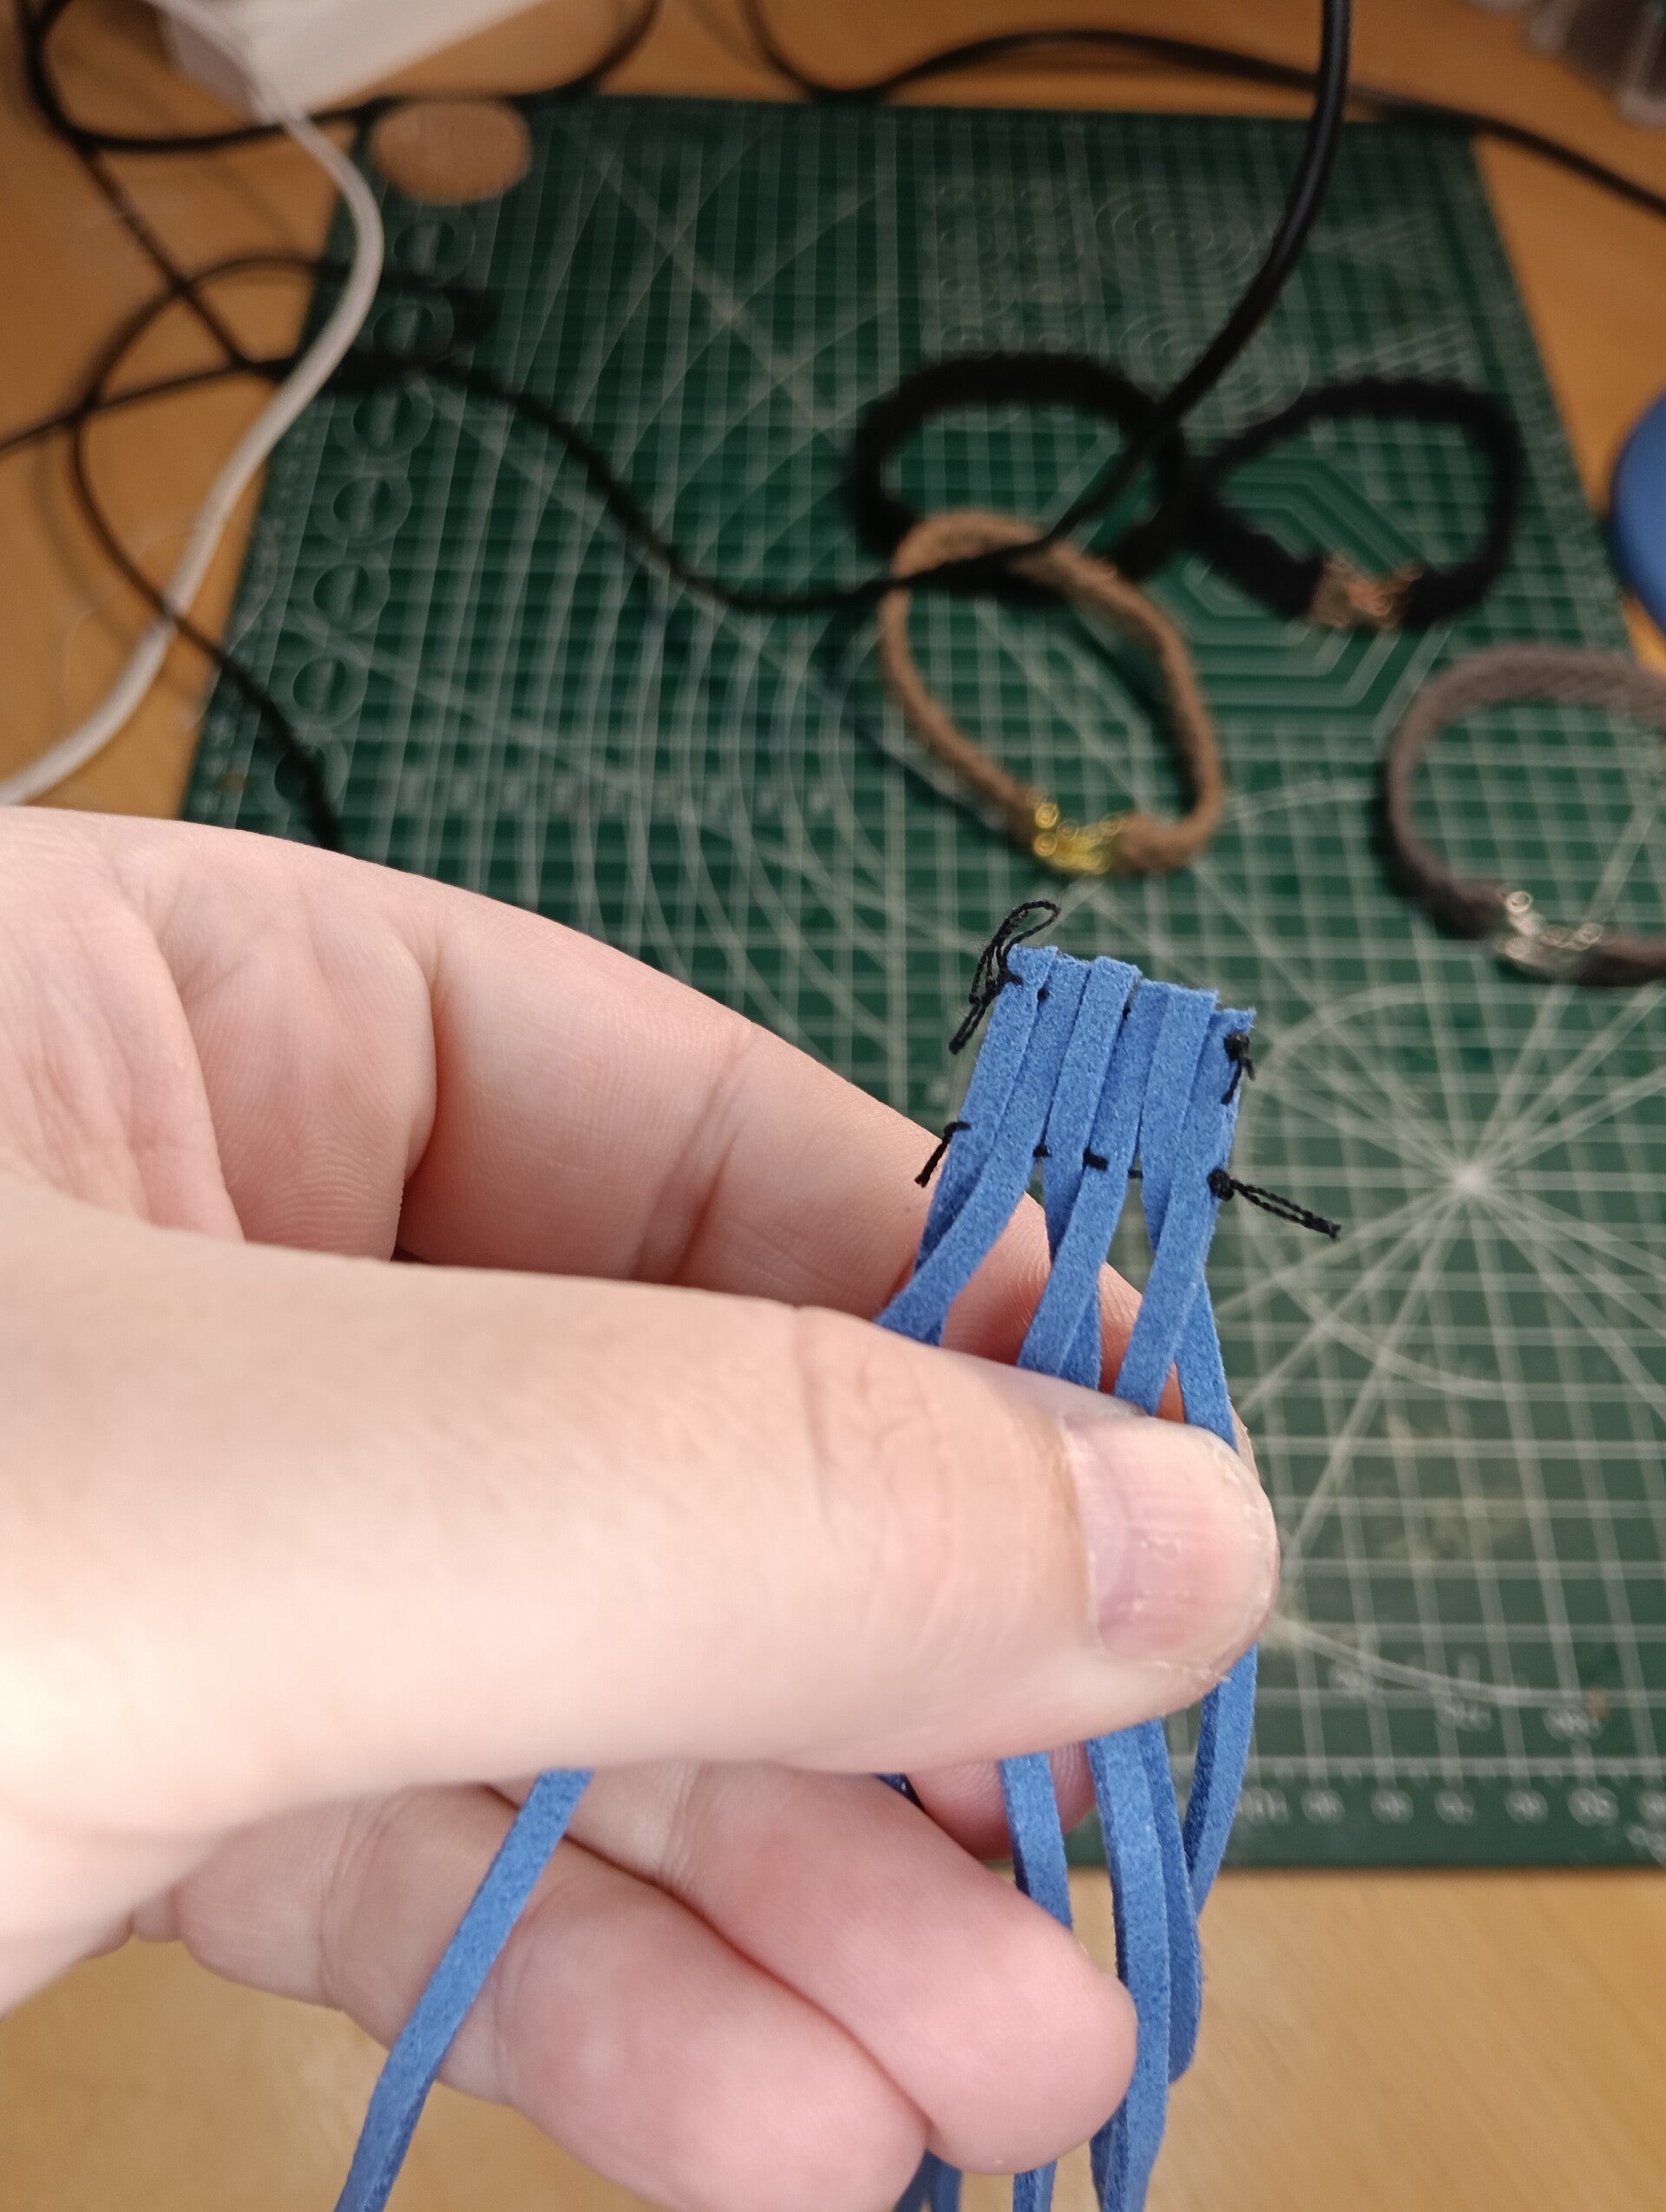
- Secure all 4 strands together at one end with tape or a clip
- Arrange strands side by side, numbering them 1, 2, 3, 4 from left to right
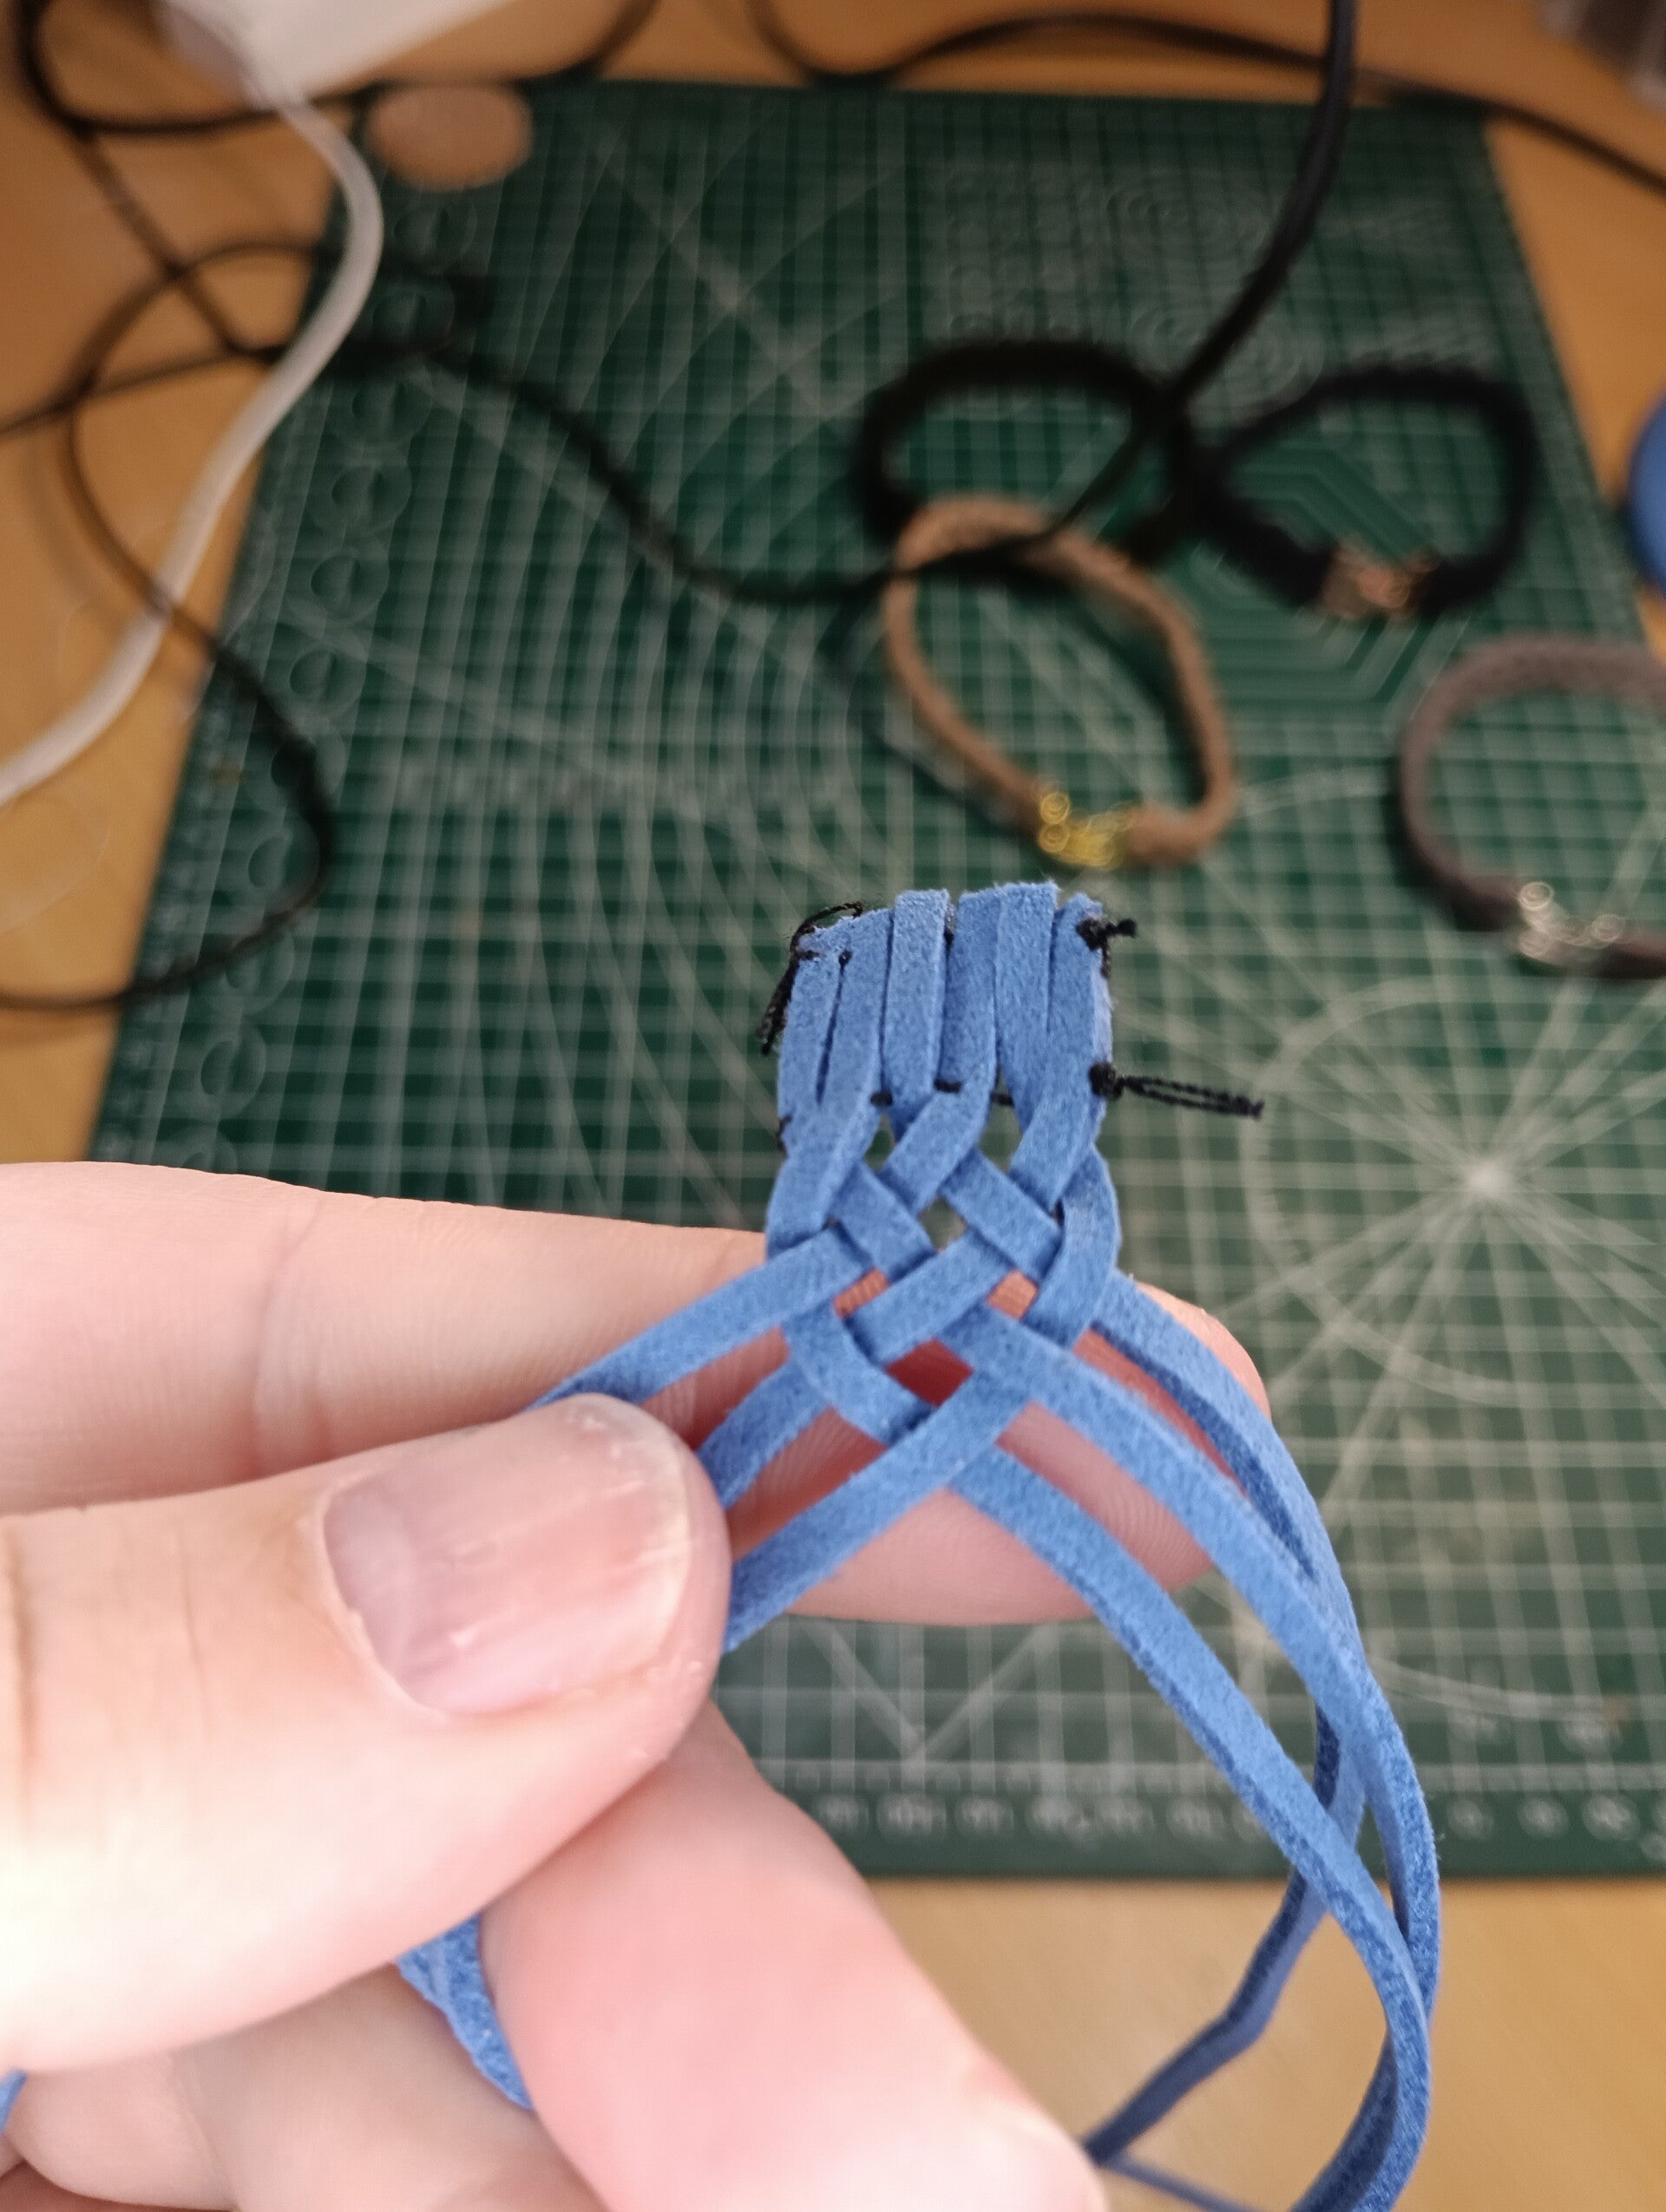
- Cross strand 1 over strand 2
- Cross strand 4 over strand 3
- Cross the middle strands (now 2 and 3) over each other
- Repeat this pattern: outer strands cross inward, then middle strands cross
- Keep tension consistent for an even weave
Finishing
- Leave 2-3 inches un-braided at each end for attaching clasps
- Secure braid ends with glue or tight wrapping
- Attach jump rings and a clasp, or create a loop-and-toggle closure
Leather Weave 6 Strands
Materials needed:
- 6 leather strips (each about 24-30 Cm long for bracelet, and 50-60 Cm for necklace)
- Leather cord thickness: 2-3mm works well
- Clasp or closure findings
- Leather glue or strong adhesive
- Scissors
- Tape or clip to secure while working
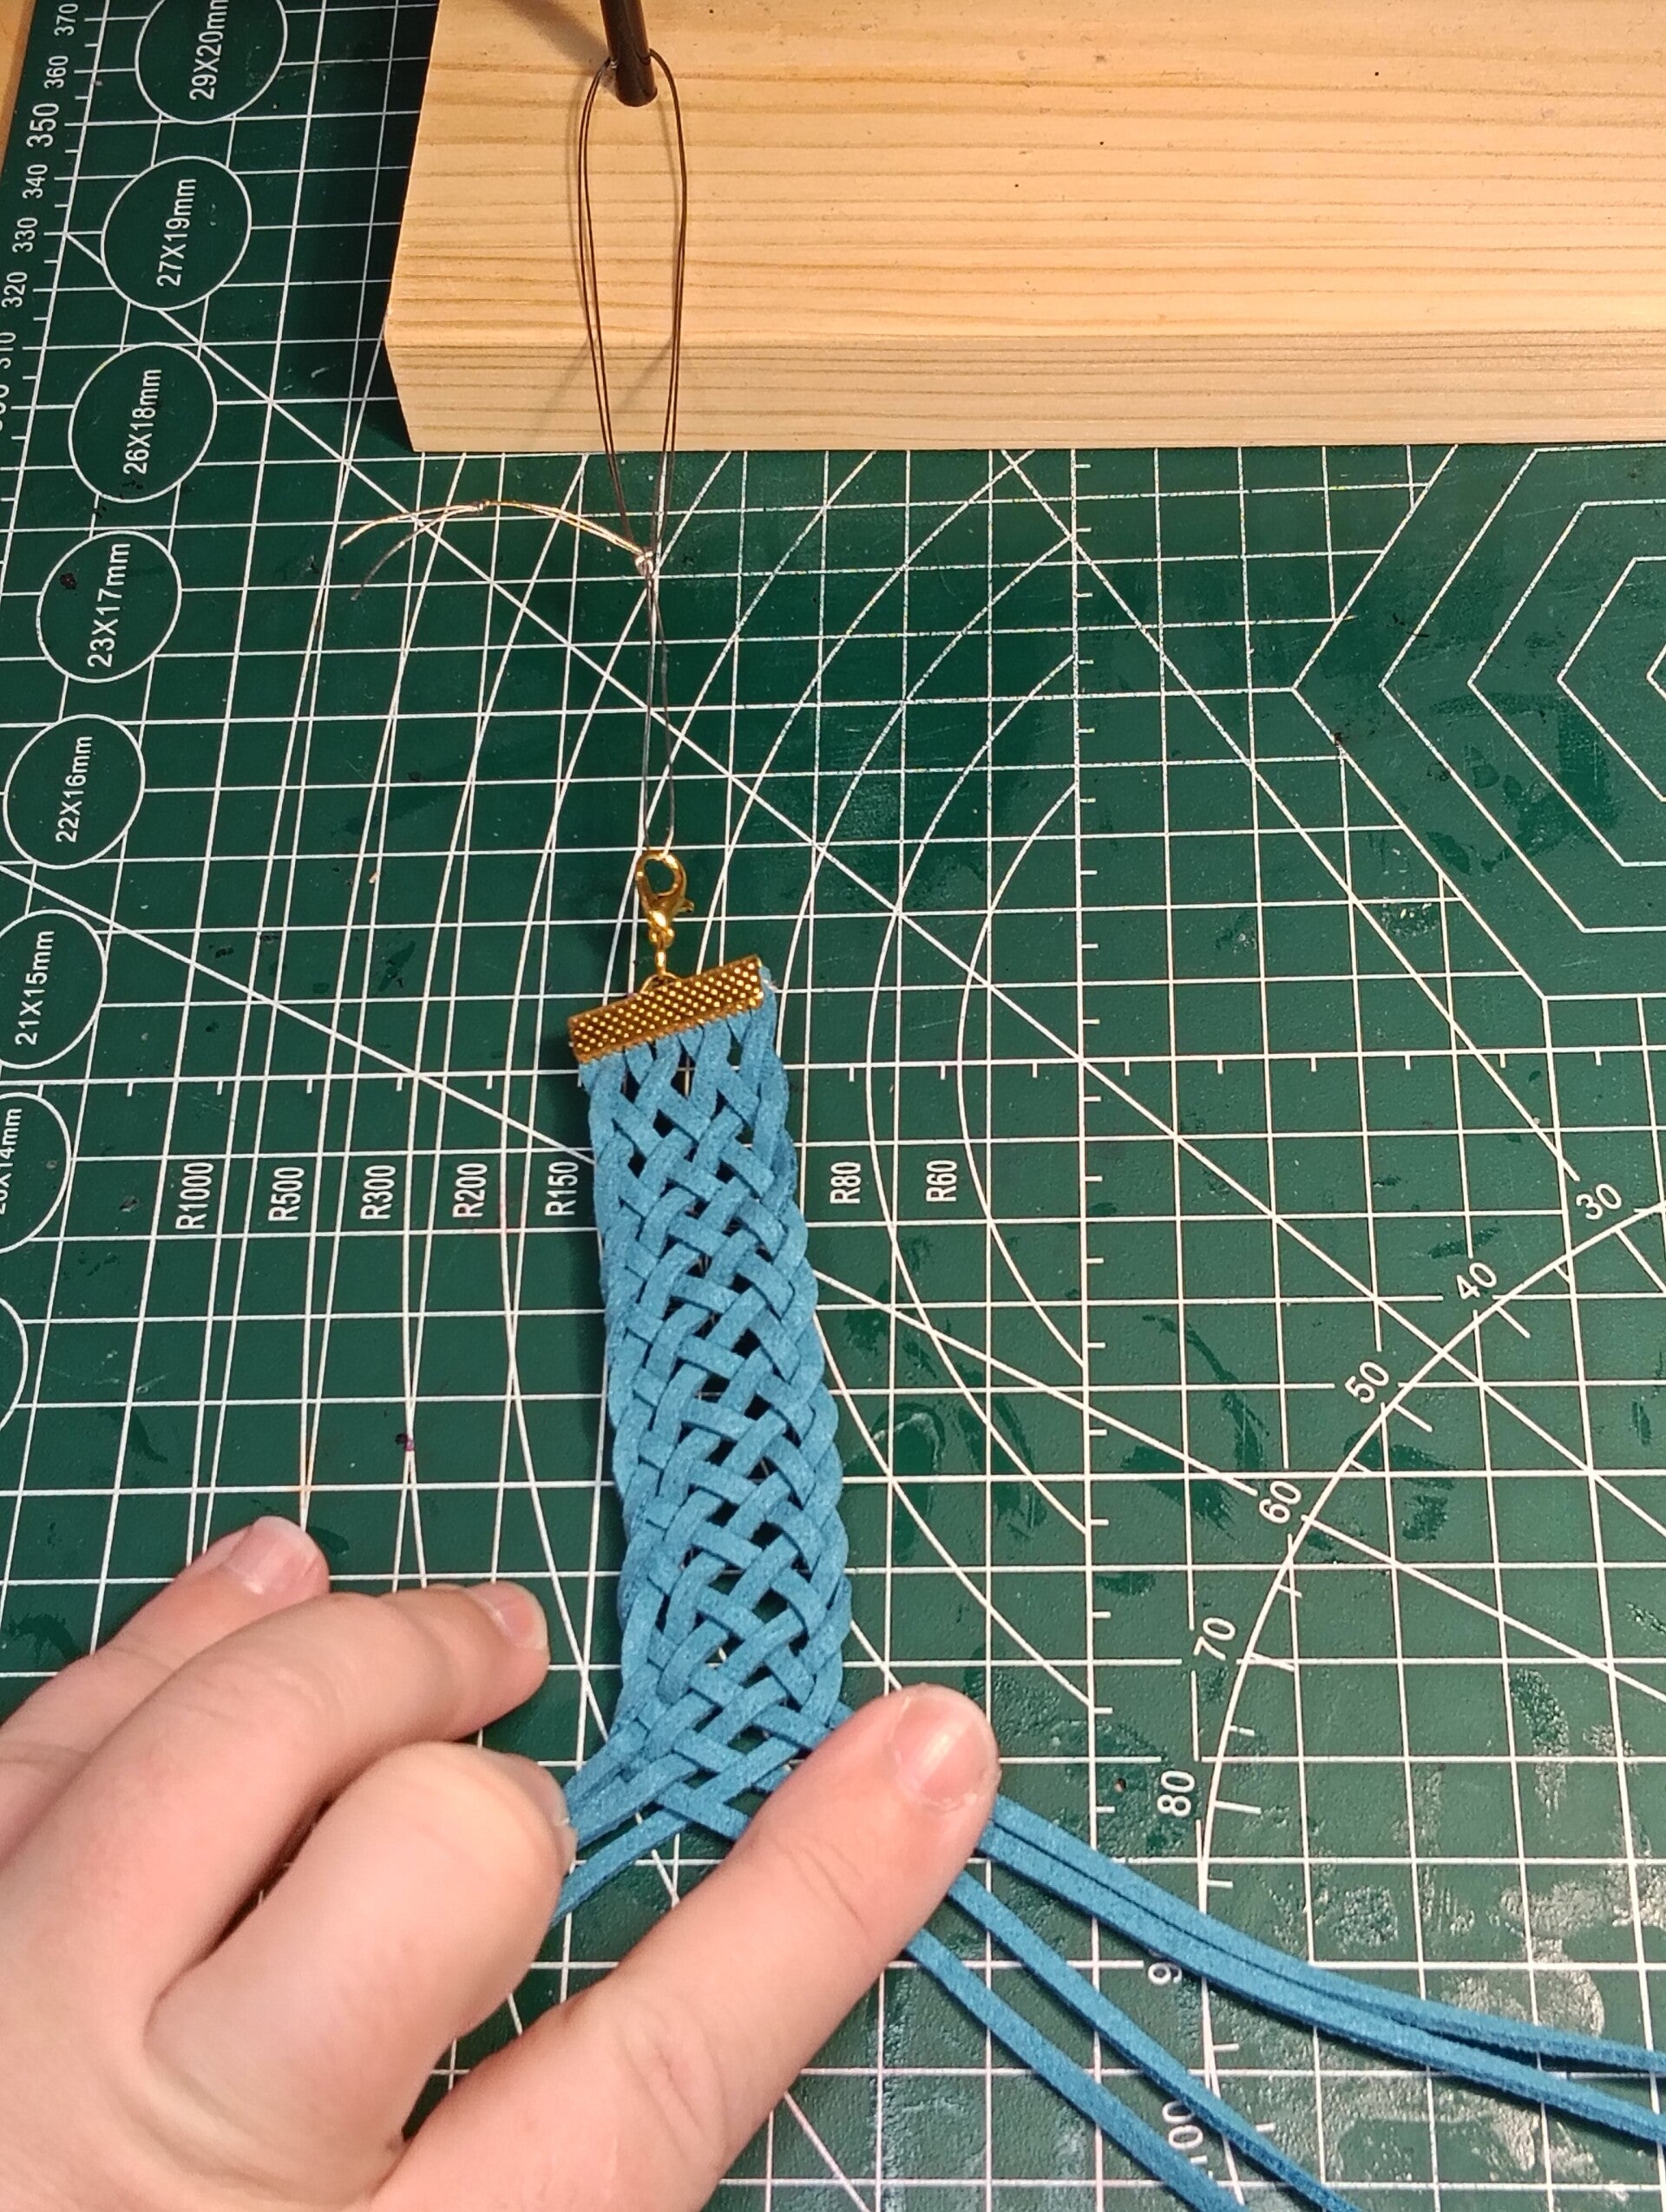
The 6-Strand Weaving Process:


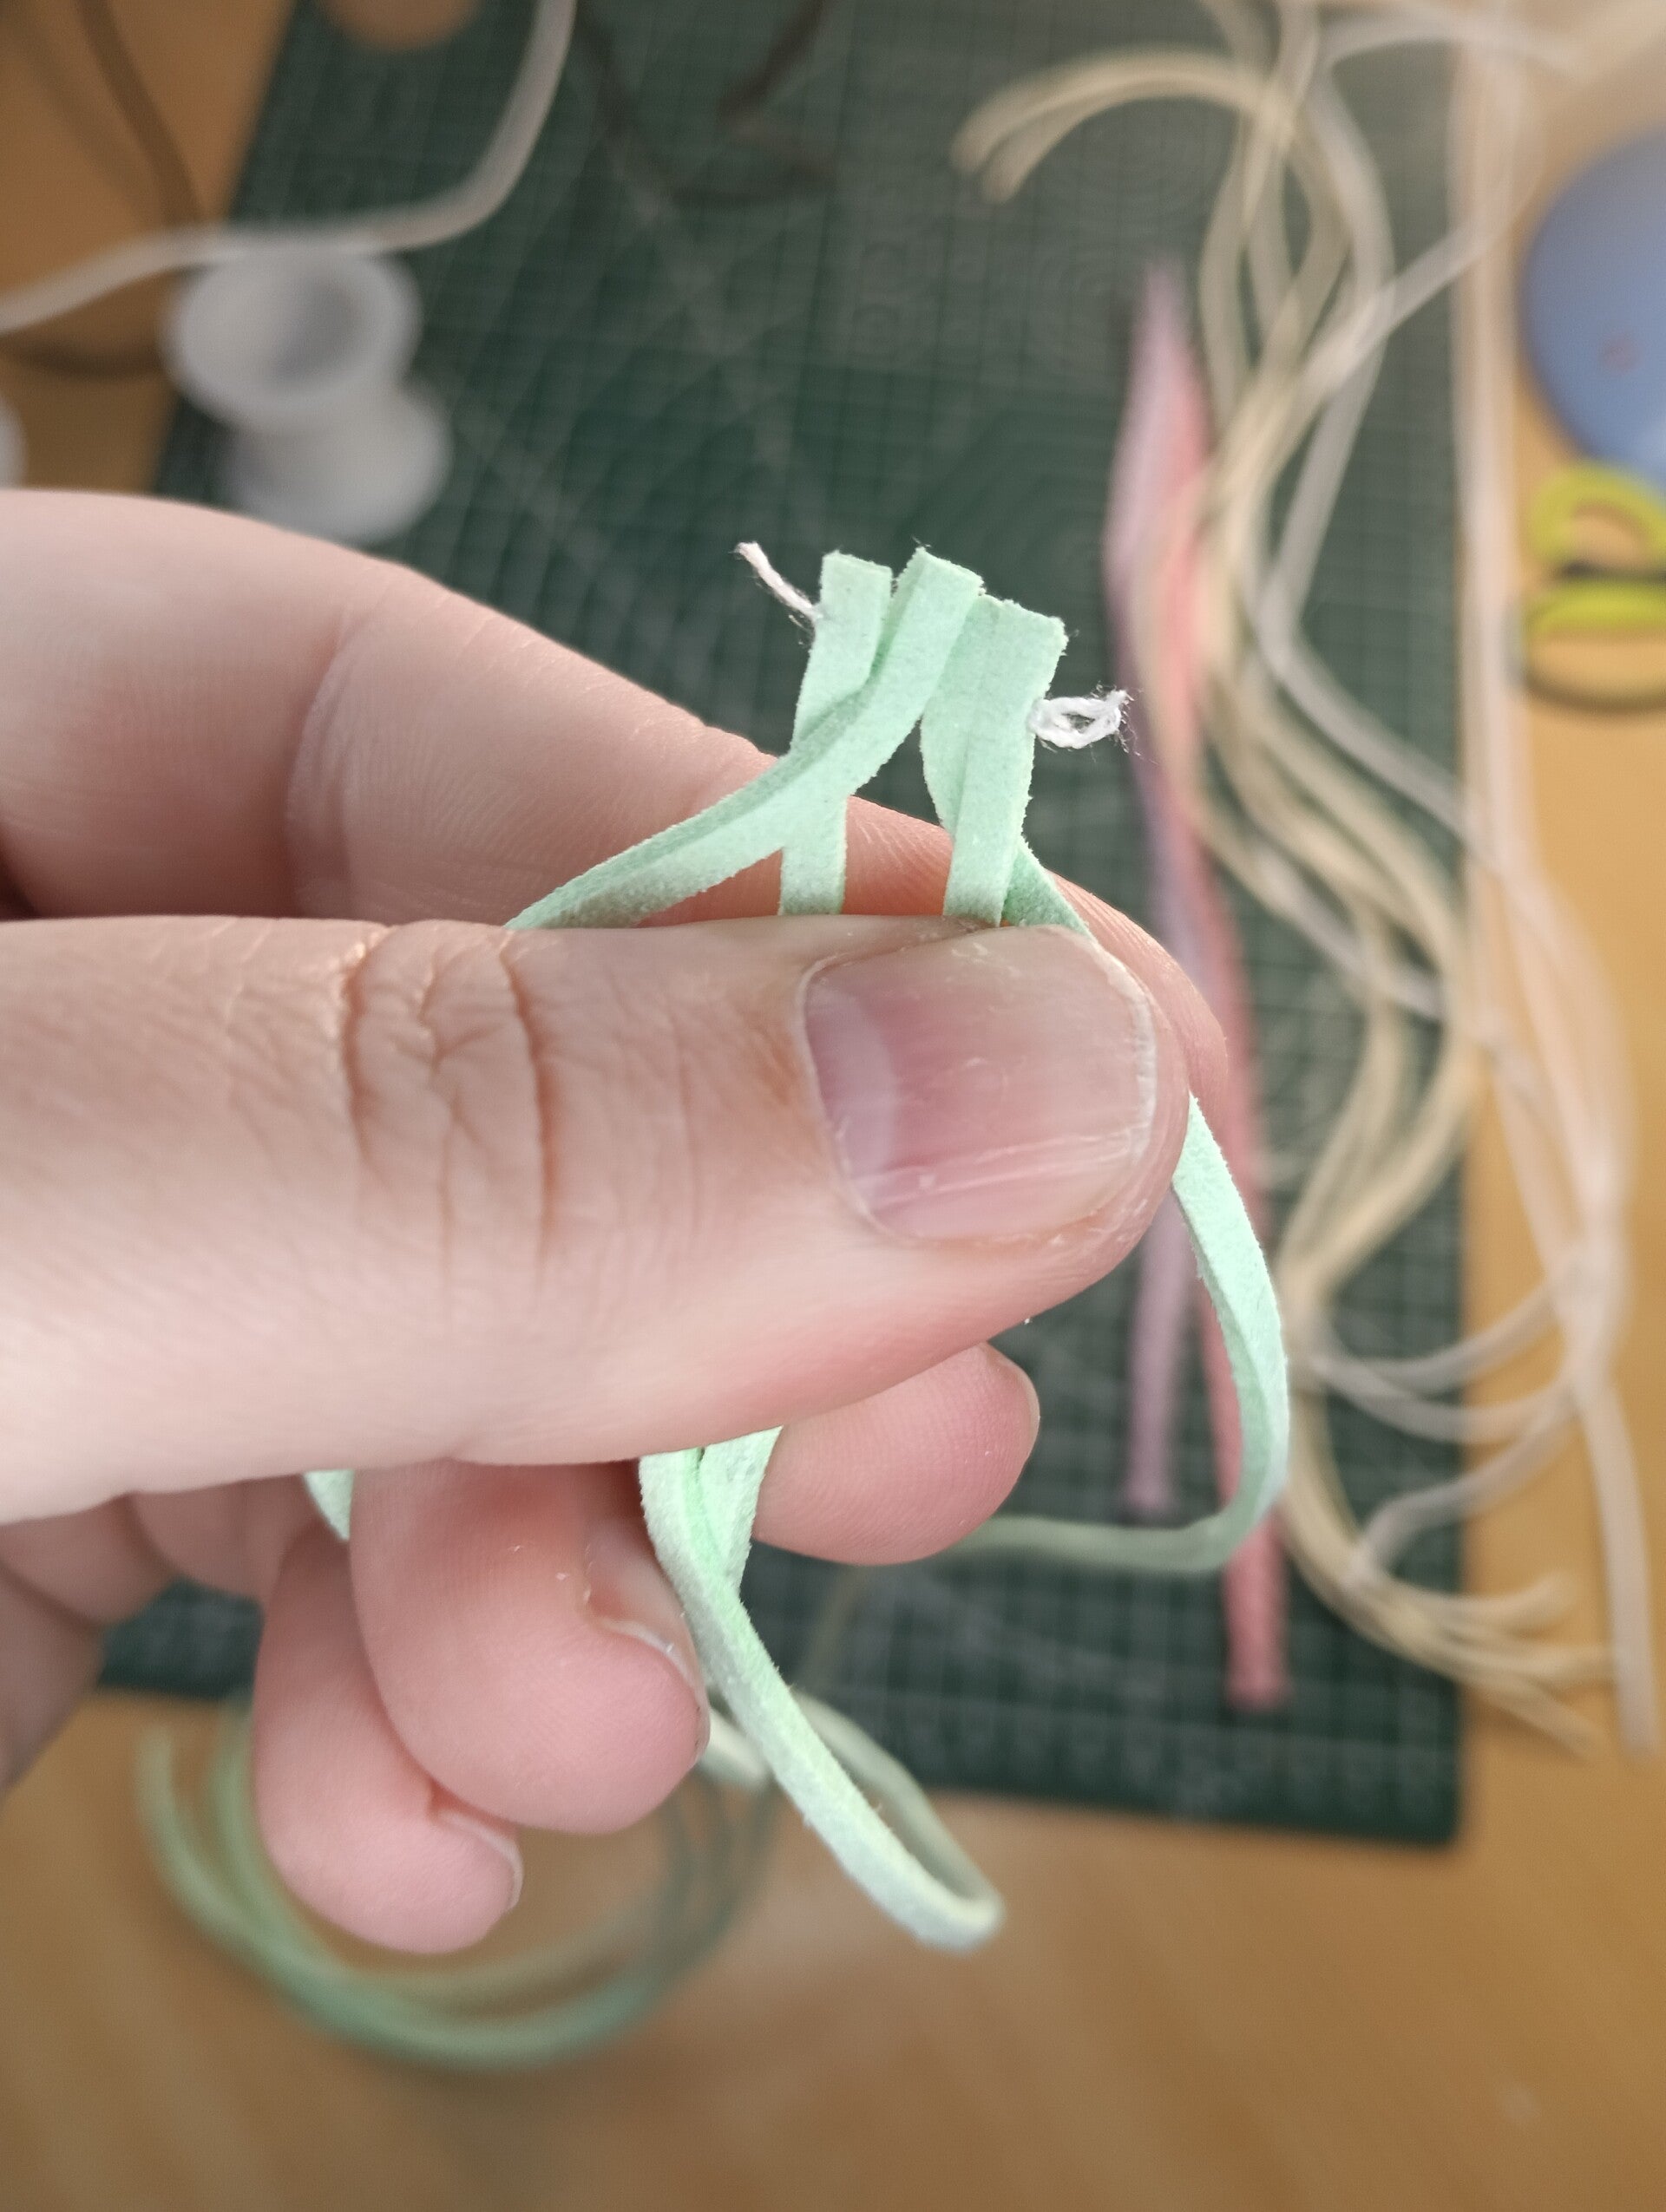
- Lay out all 6 strips parallel to each other, numbered 1-6 from left to right.
- Take strip 2 and weave it over strip 1, strip 4 and weave it over strip 3, and strip 6 over strip 5.
- Take the new strip 4 and move it over the new strip 5. Move the new strip 3 under the new strip 2, then take the new strip 4 over strip 3.
- Move the new strip 6 over strip 5, then under strip 4 to the left to make it the new strip 4.
- Take the left strip 1 and weave over strip 2, under strip 3, and over strip 4 to become the new strip 4.
- Repeat steps 4 and 5 until the desired length is achieved.
Finishing
- Leave 2-3 inches un-braided at each end for attaching clasps
- Secure braid ends with glue or tight wrapping
- Attach jump rings and a clasp, or create a loop-and-toggle closure
Leather Weave 8 Strands
Materials needed:
- 6 leather strips (each about 24-30 Cm long for bracelet, and 50-60 Cm for necklace)
- Leather cord thickness: 2-3mm works well
- Clasp or closure findings
- Leather glue or strong adhesive
- Scissors
- Tape or clip to secure while working
The 8-Strand Weaving Process:


- Take a third strip from the right and weave it to the left.
- Take the fifth strip from the right and weave it over the Sith strip to the left. Four strips must be pulled to the right and left.
- Next, weave the first strip over, under, over, and under to the left. You will now have five strands on the left side.
- Now, we grab the eighth strip and weave it under, over, under, and over to the right-middle. You should now have four stands on either side.
- Start from the right, going over the first strip, under the second, and over the third, then pull it through to the middle left.
- Repeat pattern.
Finishing
- Leave 2-3 inches un-braided at each end for attaching clasps
- Secure braid ends with glue or tight wrapping
- Attach jump rings and a clasp, or create a loop-and-toggle closure
Comming Next
Thank you for following the HWL blog Series. If you had fun with this DIY Leather Weave, you will love our next.
Coming next in the HWL Blog Series is the Step-by-Step guide to a Round Braided Leather Bracelet or necklace with 4, 6, or 8 strands. Different styles of the 4-strand round braid, such as diamond and spiral, will be available.