Each braid type includes the specific technique, materials needed, and what style it works best for. The quick reference chart makes it easy to pick the right braid for your skill level and desired look.
Quick Reference Chart
| Braid Type | Difficulty | Strands | Best For |
|---|---|---|---|
| Basic 3-Strand | Beginner | 3 | First projects |
| 4-Strand Round | Intermediate | 4 | Versatile everyday wear |
| 4-Strand Flat | Intermediate | 4 | Wide bracelets |
| Fishtail | Intermediate | 4 | Unique texture |
| 6-Strand Flat | Advanced | 6 | Statement pieces |
| 8-Strand Square | Advanced | 8 | Chunky masculine style |
| Spiral | Beginner | 3 | Bohemian look |
| Celtic Knot Expert | Expert | 4 | Decorative/ceremonial |
There are 8 different types of leather braids! From beginner-friendly 3-strand braids to advanced Celtic knot patterns, I will cover only the 4-Strand Round Leather Bracelet.
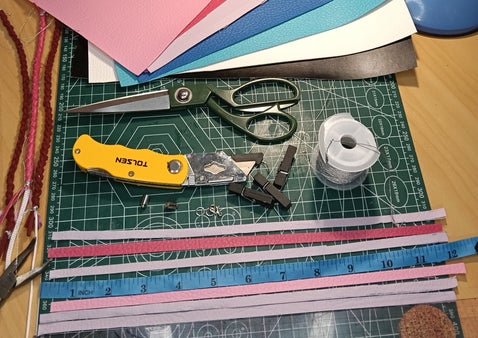
Materials Needed
- 4 leather strips (each about 12-14 inches long and 1/8 to 1/4 inch wide)
- Scissors or leather cutting knife
- Ruler or measuring tape
- Binder clip or tape (to secure while braiding)
- Jump rings or clasp (optional, for closure)
- Cord size 0.4cm and 34 cm long


Preparation
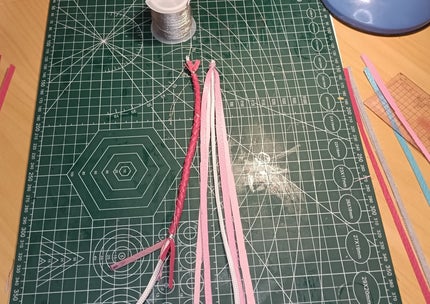
Step 1: Cut Your Leather Strips
- Cut 4 strips of leather, each 31cm (12-14 inches) long. I can't seem to cut them 100% straight and the faux leather I'm using is really Thin so it moves when cutting with a craft knife. I can't use scissors when the width of each piece is 0.4 cm.
- Width should be consistent, i'm using 0.4 cm proximate (1/8" to 1/4" works well)
- Sand the edges lightly if they're rough
- I am using a round cord for the middle. It helps to keep the shape and look I want. This is a good technique that can be used for beginners, I couldn't get the pattern right until I used the Cord.
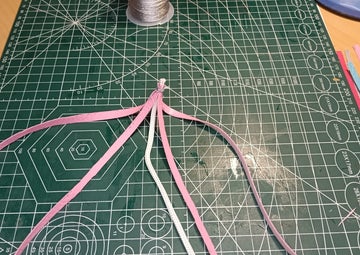
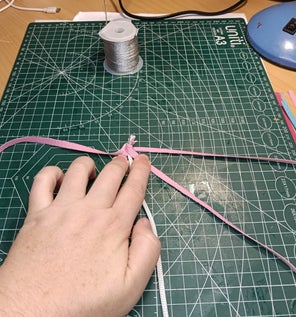
Step 2: Secure the Starting Point
- Align all 4 strips at one end with the cord in the middle.
- Leave about 1 inch of extra length for finishing
- Secure with a binder clip or tape to your work surface
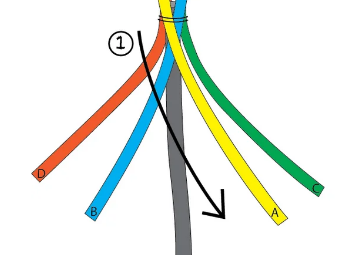
- Number the strands D, A, B, C from left to right (mentally)
The 4-Strand Braiding Pattern
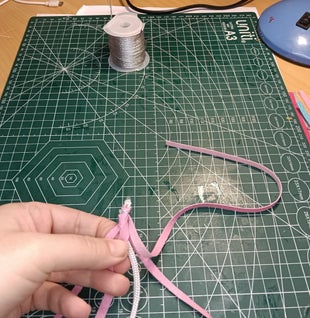
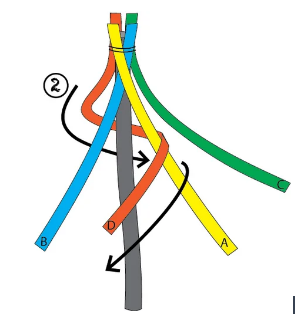
Step 3: Start the Braid
- Take strand A and bring it over strand B
- Take D wrap around back, come through A and C then Over A to middle to finish.
- Take C wrap around back, come through B and D then Over D to middle to finish.
- Take B wrap around back, come through C and A then Over C to middle to finish.
- Then Wrap A around back, come through D and B then Over B to middle to finish.
- Strand A is now on the far right
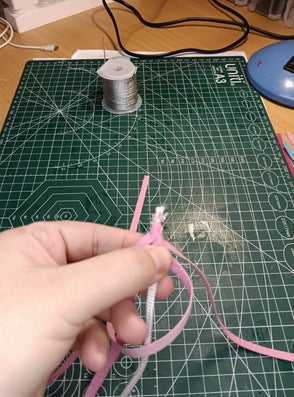
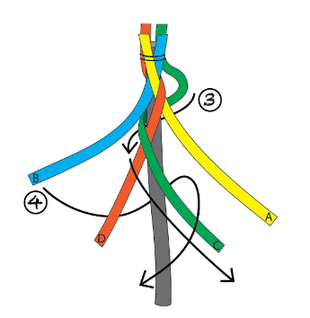
Step 4: Continue the Pattern
- This is the First position, where you finished above, Strand A is now on the far right.
- Take D wrap around back, come through A and C then Over A to middle to finish.
- Take C wrap around back, come through B and D then Over D to middle to finish.
- Take B wrap around back, come through C and A then Over C to middle to finish.
- Then Wrap A around back, come through D and B then Over B to middle to finish.
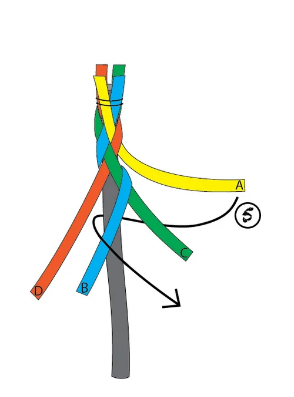
Step 5: Repeat Until Complete
- Keep repeating the pattern Above.
- Keep tension consistent but not too tight
- Continue until you have about 1 inch of leather remaining


Finishing Touches
Step 6: Secure the End
- When you reach the desired length, secure the end with tape or a clip or i like to stitch with thread.
- Trim any uneven ends, leaving about 1/2 inch extra
Step 7: Add Closure (Optional)
Simple Knot Method:
- Tie a small loop knot at one end
- Tie a stopper knot at the other end that's slightly larger than the loop
Clasp Method:
- Use a leather punch to make small holes at each end
- Attach jump rings and a lobster clasp
Method I Used:
- Attach Silver Crimp ends and use Crimp scissors to make sure it is tight as well as a good amount of glue.
- Attach the Lobster Clasp with jump Rings.
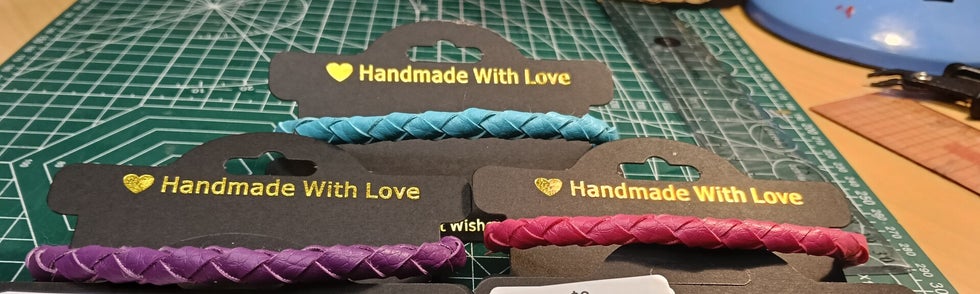
Final Result
Your completed 4-strand braid will have a beautiful, complex-looking pattern that's actually quite simple once you get the rhythm (once you have got the pattern try without centre cord). The finished bracelet should lay flat and have a sophisticated woven appearance. Enjoy your handmade leather bracelet!
Check out the Video Below.